Fun/Simple Ways to Customize AG Dolls
Customizing AG

Hi guys! So... I don't really know what I'm doing with my post this week, but I thought I'd throw together some, by my definition, simple, and subjectively cute ways to customize dolls! *my initial post for this week just never got done… JLY #24 is going to be the death of me*
I've been repainting dolls for a few years, so my definition of simple might be different from yours, though I really did try to be "simple"
#1
The first customization technique I ever used was freckles, initially with a toothpick, but then splatter freckles became my absolute fave.
Here is Miss Tenley, I alternated between splatter and intentional with her, I think she’s got about four layers of freckles

#2
adding teeth was the second thing I think I've ever done, which, idk, some people don't like it, I personally really vibe with it.
*I’ve learned it does not look good on Josefina molds though, just a friendly tip*
#3
literally so simple, but just attaching fake lashes!
There are so many different styles, so you can be subtle, or loud, and it can completely change everything about your doll. It's my go-to when I get stuck on a character or repaint, lol
I buy all my lashes at the Dollar Tree, just because I feel like I get the best deals there.
I have this picture of Versailles, so she will be my model, but here is Fatima as well:


Kanani is actually the only girl doll in my collection without fake eyelashes, because she’s just iconic with her painted lashes look
#4
Hair beads! Adding hair beads to Iris was super simple, and I feel like it just elevated her character so much, I'm genuinely so obsessed.

So the steps, I'll break it down:
First, just string your beads on some string (you want the string to be about double the length of your dolls hair, and the beads to only take up about one-third of the string), then tie a slipknot attaching the string to the dolls hair, and then braid the beads and string into the hair! I secured mine at the bottom by tying a regular knot.
If you would like an in-depth tutorial, please just let me know in the comments and I will happily post a step by step! Or refer you to the video I learned from :)
#5
#6
adding lip gloss! I just use clear nail polish to lightly coat my doll's lips, I do it on about 99.5% of my collection. You can also use Mod Podge though, that is the super cute but low commitment option.
#7


Finally,
We have #8, and my absolute personal favorite:

Tattoos :)

Now, before you go and yell at me “Noelle, this isn’t simple, and it’s too stressful to be fun!” Hear me out 😂They don't have to be extravagant, sometimes simple is the best. (Ignore the fact that I’m using Cassie and Felicity as my samples, I know they're not simple, but Cassie's book character just owns my heart and soul and I’ve put literal years into that doll)

*I did this one completely in Crayola markers, which I guess is just to share that you really can use anything, and they can be INSANELY low commitment! This one just came off with some water*
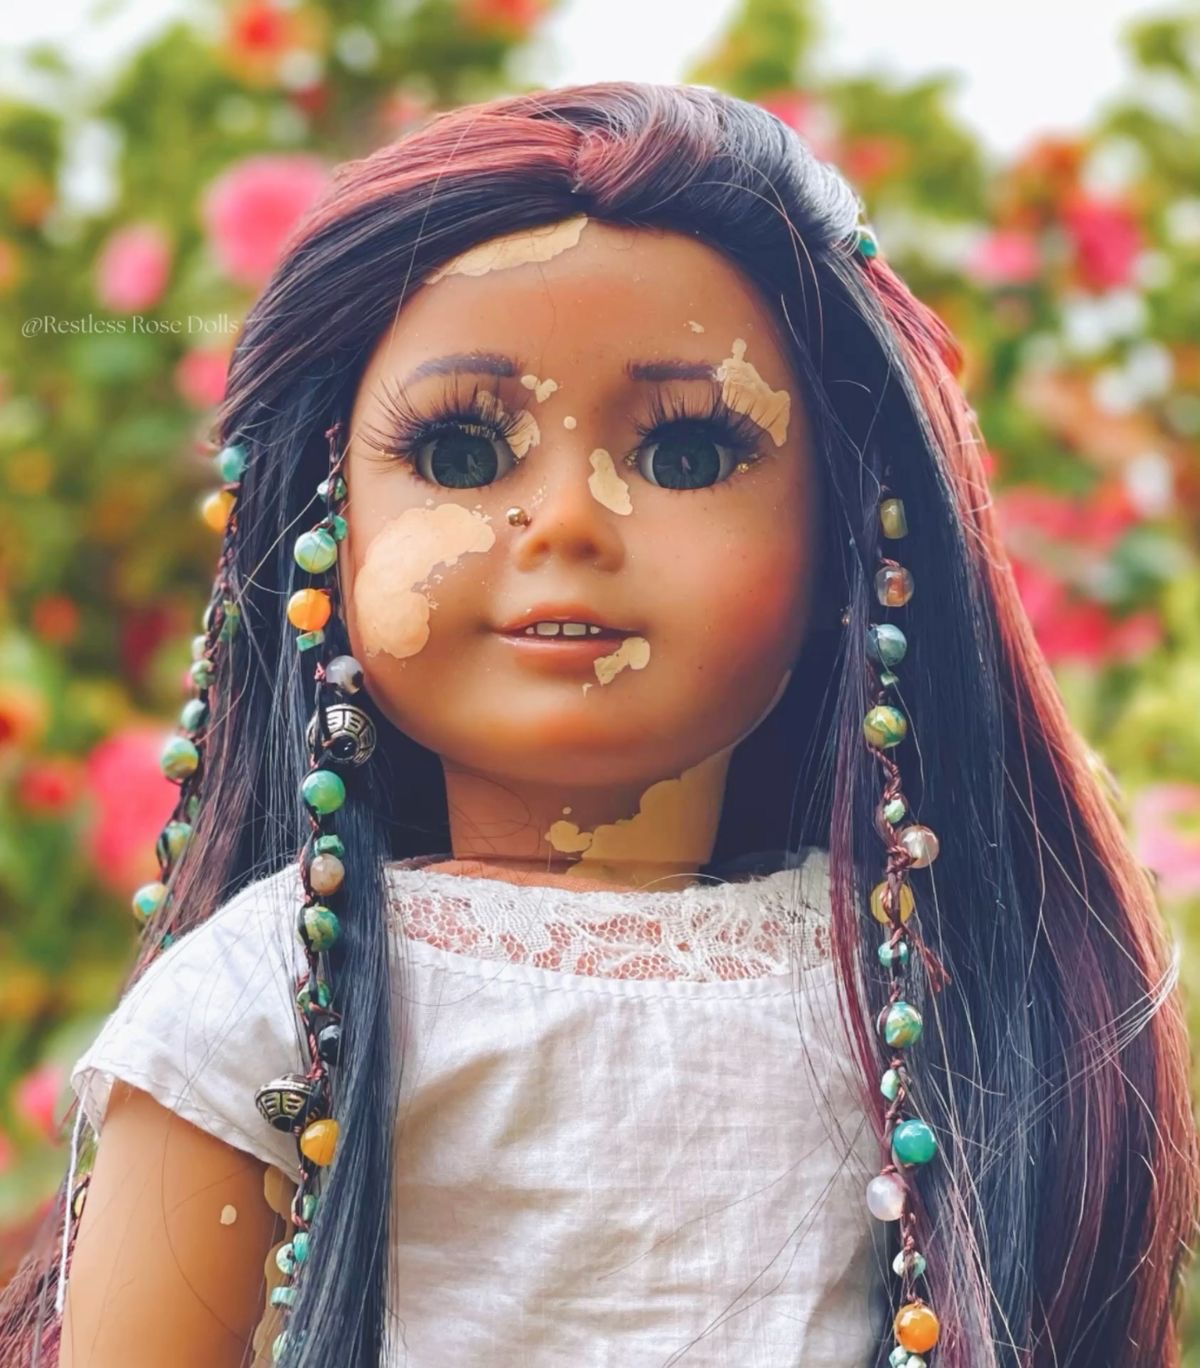
Bonus round: #8
Vitiligo

I promise! It’s easier than it looks!! Just take an already darker-skinned doll and make sure you use REALLY light coats, or blot the paint on slowly otherwise it gets textured and bumpy. Smaller marks are the safest way to go.
I can’t be held responsible if you damage your doll, as I’m just some random teenager on the internet and you should know to never trust people on the internet, much less a teenager BUT. I personally use DecoArt acrylic paint in the toffee color. (But you didn’t hear it from me, k? 😁) In all honesty? You can’t prove that I’m not just a random dream you’re having. Hallucinations are real y’all.


Comments
Post a Comment
♡ Questions, comments, suggestions for future posts? I'd love to know! Please feel free to share your thoughts ♡